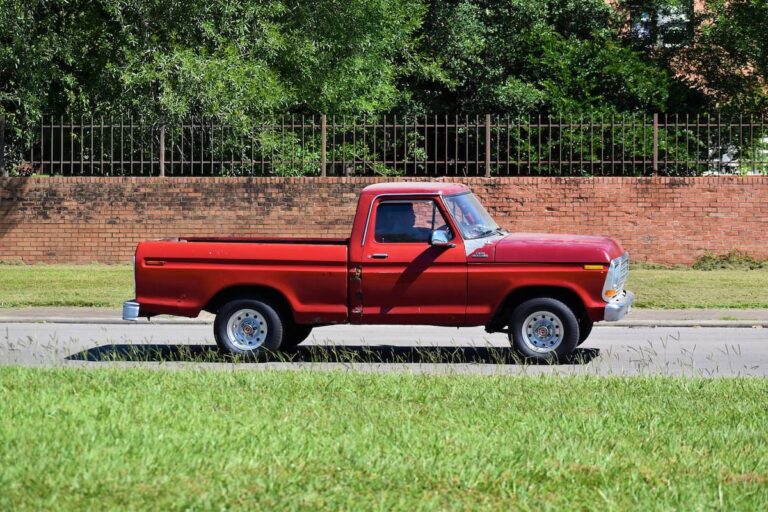
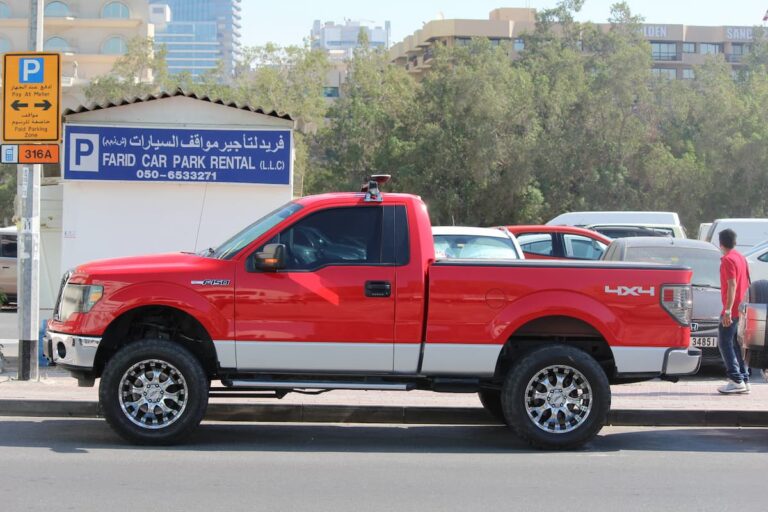
How To Reset Ford F150 Radio?
Radio problems in the Ford F-150 are pretty common.
The upside is that a reset solves most of them, and you rarely need to replace the system.
To perform a soft reset on the F-150 radio, simultaneously press and hold the power button and the seek/fast forward button. The radio will reboot in fifteen seconds. A hard reset requires you to take out the radio, remove the battery or unplug the wires, and reinstall it.
A soft reset should be your go-to; hard resets are for complex issues that require you to look into the system for faults.
It’s best to only take out your radio as a last resort.
Reasons for a Defective F-150 Radio

There are three primary reasons for a wonky F-150 radio:
- A blown fuse
- Faulty connections
- A defective radio
The “symptoms” range from your radio not turning on at all to it only working sporadically.
You might even have a radio that works well in every aspect but has no sound.
Understanding the underlying issues is the first step to finding a solution.
Blown Fuse
If your radio won’t turn on, it likely has a blown fuse.
To confirm, locate the fuse box at the bottom right-hand side of the passenger seat. You might need to move the mat for easier access.
Remove the cover by squeezing the buttons on both ends and pulling it back.
Once the fuse box is open, you’ll find several colored fuses. If you’re unsure which is which, your owner’s manual will explain the function of each.
Besides the colors, each fuse has an amp number. You have to pay attention to this number – if a 15 amp fuse blows, you must replace it with a similar 15 amp (not a 10 or 20 amp fuse).
Radio fuses vary by model, so check online for the fuse specification chart for your vehicle model. You can also refer to your owner’s manual, which outlines the exact numbers for your particular F-150.
With a pair of pliers, pull out the fuse responsible for sending power to the radio and inspect it.
You’ll know it’s blown if it looks burnt. If you can’t tell, put the fuse back in and test the radio.
If it doesn’t work, then the fuse is blown.
Use a test light or multimeter if you don’t want to pull out the fuse for inspection. You’ll know if a fuse doesn’t work if you set the tool against it and don’t get a reading.
Faulty Connections
A bad connection is a primary reason for most radio problems. Like the blown fuse, bad connections send insufficient power to the device.
Your radio likely has bad solder joints if it’s fine one day and doesn’t work the next.
Repairing your radio takes a little bit of technical expertise and some specialized tools. If you’re confident you can fix it yourself, take it out and inspect the insides.
You can get Ford radio-removal keys at most car audio accessories stores. They’re affordable and allow you to remove the system without damaging it.
If you don’t have the time to get radio-removal keys, use a screwdriver to remove the entire panel.
Use the same screwdriver to take out the screws holding the radio in place.
Once the system is loose, pull it out, take it to a workspace, and open it up with the screwdriver.
Grab a soldering gun and work on the loose joints that don’t send power to the system.
Once done, put it back together, and reinstall it.
Faulty Radio
A malfunctioning radio may just be bad luck. Some F-150s come with radios that don’t work from the get-go.
If yours is one of them, and your warranty is still valid, spare yourself the extra work and head to the nearest dealership.
The attendants will fix or replace the radio at no additional cost.
If you have an expired warranty, you’ll likely have to pay for the repairs or replacement yourself.
How To Troubleshoot Ford F-150 Radio Issues
Knowing the problem before deconstructing your radio is essential.
You might take out the inner parts only to find that the real solution is rebooting it.
You’ll know you’re dealing with a power issue if the screen is completely blank and nothing seems to alter it.
A quick soft reset will do the trick if the screen is fine but unresponsive.
How To Perform a Soft Reset on the Ford F-150 Radio
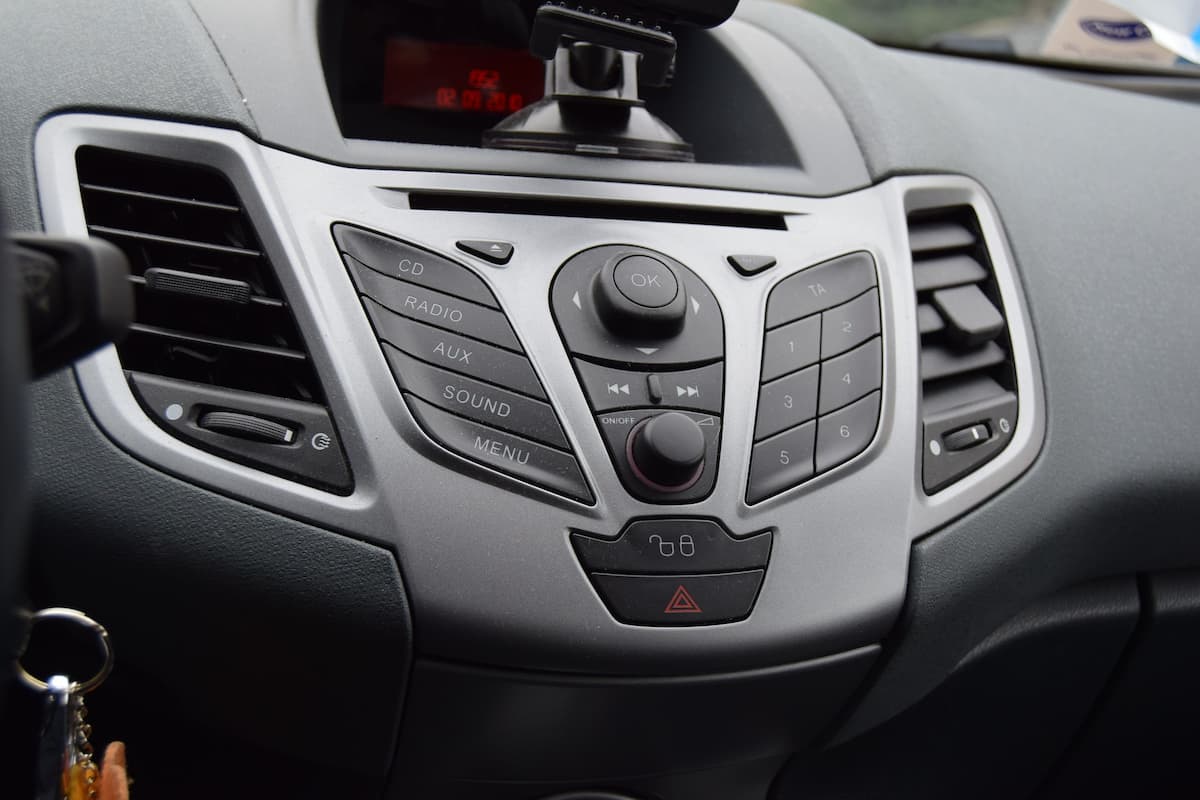
To reset your F-150 radio, hold down the power and the skip forward button simultaneously. Keep holding until the Ford logo pops up.
The process takes 10-15 seconds, and your radio should be fine after the reboot.
If the soft reset fails, turn off your F-150. Ensure the engine isn’t running and the car isn’t in accessory mode.
Remember that some F-150 models keep the radio on even when the car is off.
Open the driver’s door and lock it. Next, close the door and wait a few minutes for the radio to switch off.
Once done, turn on the ignition and see if the display will reboot itself.
If it doesn’t work, head to the car battery and detach the negative terminal.
Leave it in that state for around half an hour, then put it back on.
Turn on the radio and see if the issue is gone. If it isn’t, you might need to check the inside elements.
How To Reset an F-150 Radio With No Sound
A radio with no sound points to a connectivity issue.
Before inspecting the wiring, ensure you didn’t accidentally press the mute button or auxiliary button without connecting the required devices.
Also, check that you’re on the latest system by navigating to General Settings > Automatic System Updates > Scan for Updates.
Connect it to your WiFi network before initiating the scan.
If you’re using the latest upgrade, perform a remote start by locking the doors through the key fob and pressing remote start two times.
If these fixes don’t work, confirm that your unit isn’t dead.
Inspect the Antenna
You’ll find your radio antenna above the right rear window. Check whether it’s loose or damaged.
If either is the case, take it to a professional, or replace it.
Check the Amplifier
A defective amplifier affects your radio and car battery, making replacement vital.
If the amp is well-connected and in good condition, yet the radio still has no audio, bench-test it for further diagnosis.
Bench-Test the Amplifier
Bench-testing an amp requires some specialized technical knowledge and some particular equipment.
Firstly, remove your amplifier and take it to a workspace.
Get a lawnmower or car battery as a power source, a speaker to test the audio, and a tone generator.
You can also get alligator clips for a smoother process.
Start by connecting the ground wire, the power, and the remote turn-on wire.
If the power light turns on, the amplifier has power. If it doesn’t, your amplifier is dead.
Next, test the output by connecting the test speaker. Ensure the speaker works.
Connect the tone generator through an RCA cable and look for a tone from your amplifier. If you don’t get one, your unit’s dead, and you need to get a new one.
Reset the Radio
Remove the radio and unplug the wires or take out the battery.
Leave it in that state for a few minutes, then return everything.
Turn on the ignition.
When the radio turns on, you’ll see the word “code” on the screen. You’ll find your radio security code in your F-150 manual.
If you don’t have it, press 1 and 6 (or 2 and 6 in other models), then wait for a code that starts with “V” and displays six numbers.
Write down that code and input it at radiocodeford.com to retrieve your security code. You’ll pay around $10.
Conclusion
Problems with the F-150 radio are, unfortunately, commonplace.
Luckily, you can perform a few DIY fixes and save yourself a trip to the mechanic.
Some of the fixes are more technical than others, so don’t hesitate to take your truck to an expert if you don’t have the tools or know-how.
Table of Contents